Fun Elf Craft For Kids
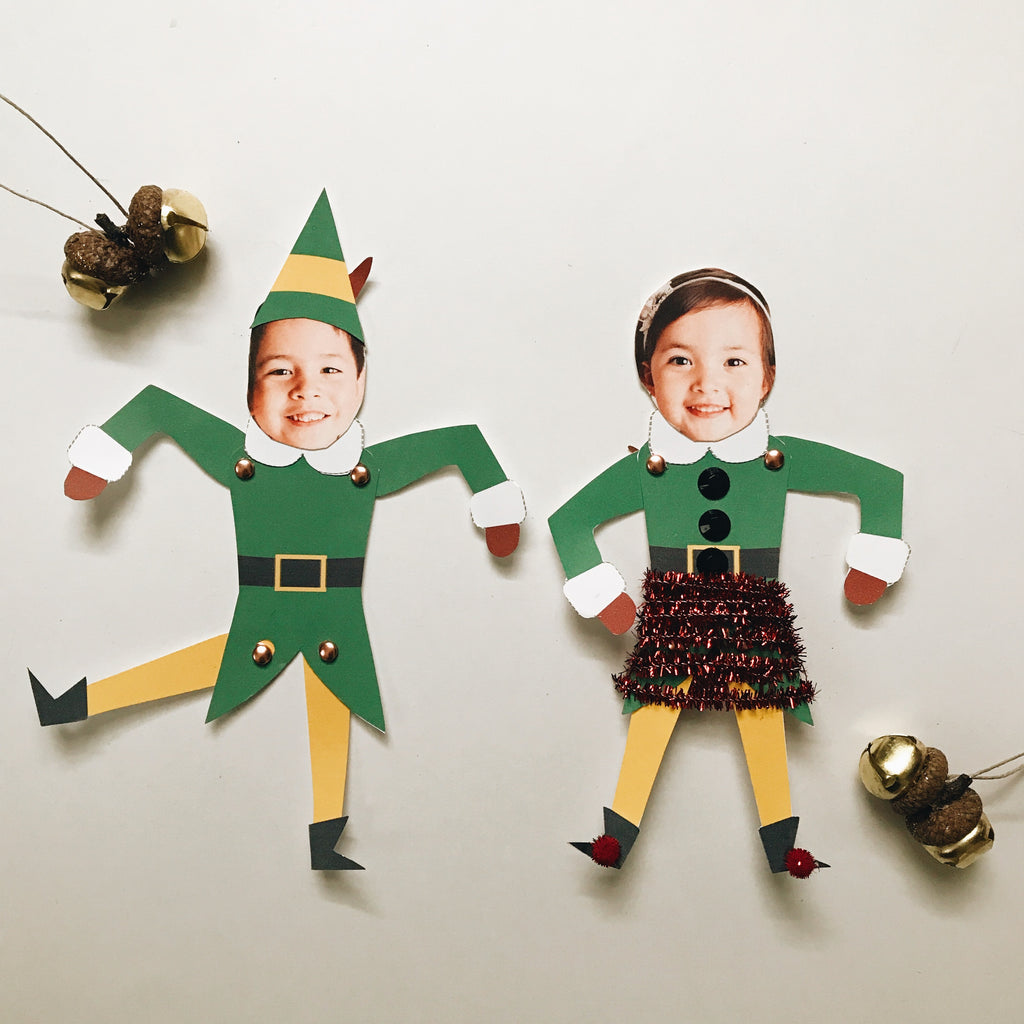
I recently stumbled upon this fun art project from SimpleEverydayMom and thought it was so cute and couldn’t wait to make it with my kids and share! 
You will need:
- White Card Stock
- Scissors
- Brads
- Glue
- Small hole punch
- Photo of your child’s face
J wanted to add skirt to her elf so we added some sparkly pipe cleaners and button stickers. All of the supplies purchased from Michael’s.
- Download the Elf Craft Project from SimpleEveryDayMom and print out on heavy, white card stock.
- Cut out all the pieces of the elf and your child’s face.
- Glue the elf hat on top of your child’s head.
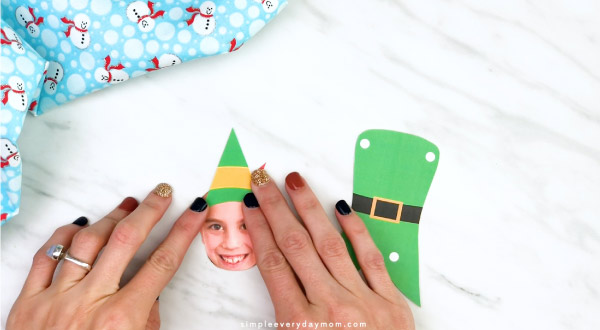
- Put a little glue on the top of the white collar and glue your child’s photo on top of the collar.
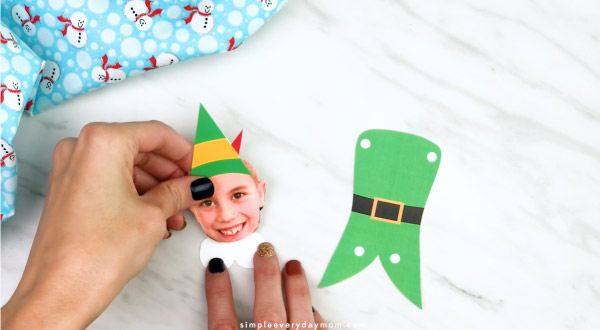
- Using the small hole punch, punch out all the white circles on the elf printable.
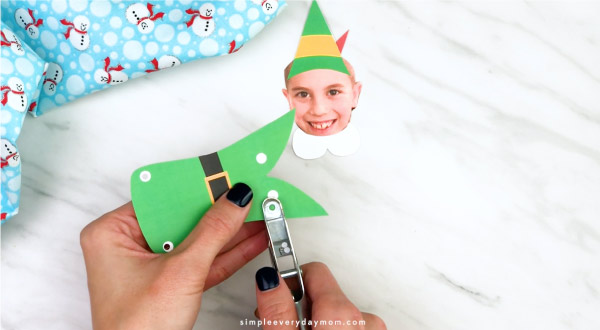
- Place the arms behind the body, then insert the brads and attach both arms.
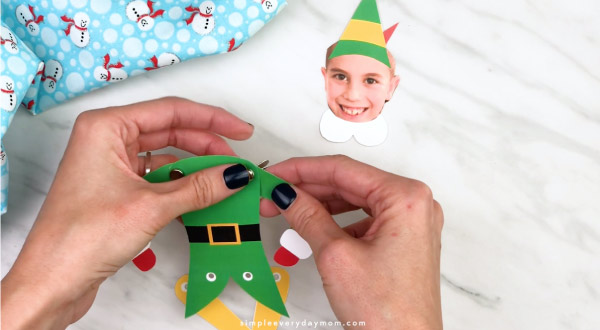
- Place the legs behind the body, then insert the brads and attach both legs.
- Put some glue on the top of the elf’s body (where the neck would attach) and slide the white collar underneath the arm brads.
- Position the back of the elf coat (the black piece) behind the green coat and glue only the top 1/2″ of it to the elf body.
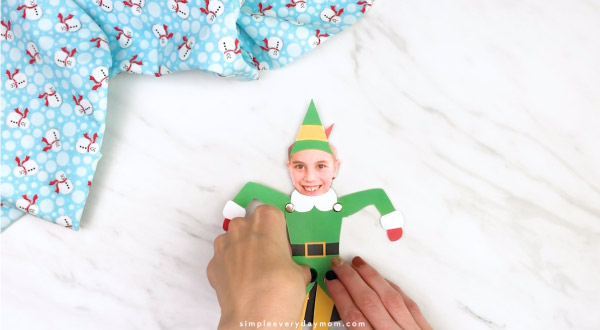
- Using scissors, cut the excess black off the sides of the elf coat.
Have Fun!
//Source: www.Simpleeverydaymom.com
